
 EN
EN
 AR
AR FR
FR DE
DE IT
IT JA
JA PT
PT RU
RU ES
ES NL
NL RO
RO PL
PL VI
VI GA
GA MS
MS SK
SK SV
SV IW
IW KO
KO TL
TL
3D Fence Installation Guide: Step-by-Step from Posts to Panels
A 3D fence is only as good as its installation. The same panel that performs flawlessly when bolted to properly set posts becomes a safety and security liability when mounted on shallow concrete, misaligned posts, or undersized hardware. Yet many contractors treat fence installation as an afterthought — which is why we see the same mistakes on sites across the world.
This guide walks through the complete 3D fence installation process, from site survey to final inspection, and highlights the specific mistakes that turn a good fence into a bad one. Whether you are installing 100 meters around a factory or 5,000 meters around a housing estate, the principles are identical.
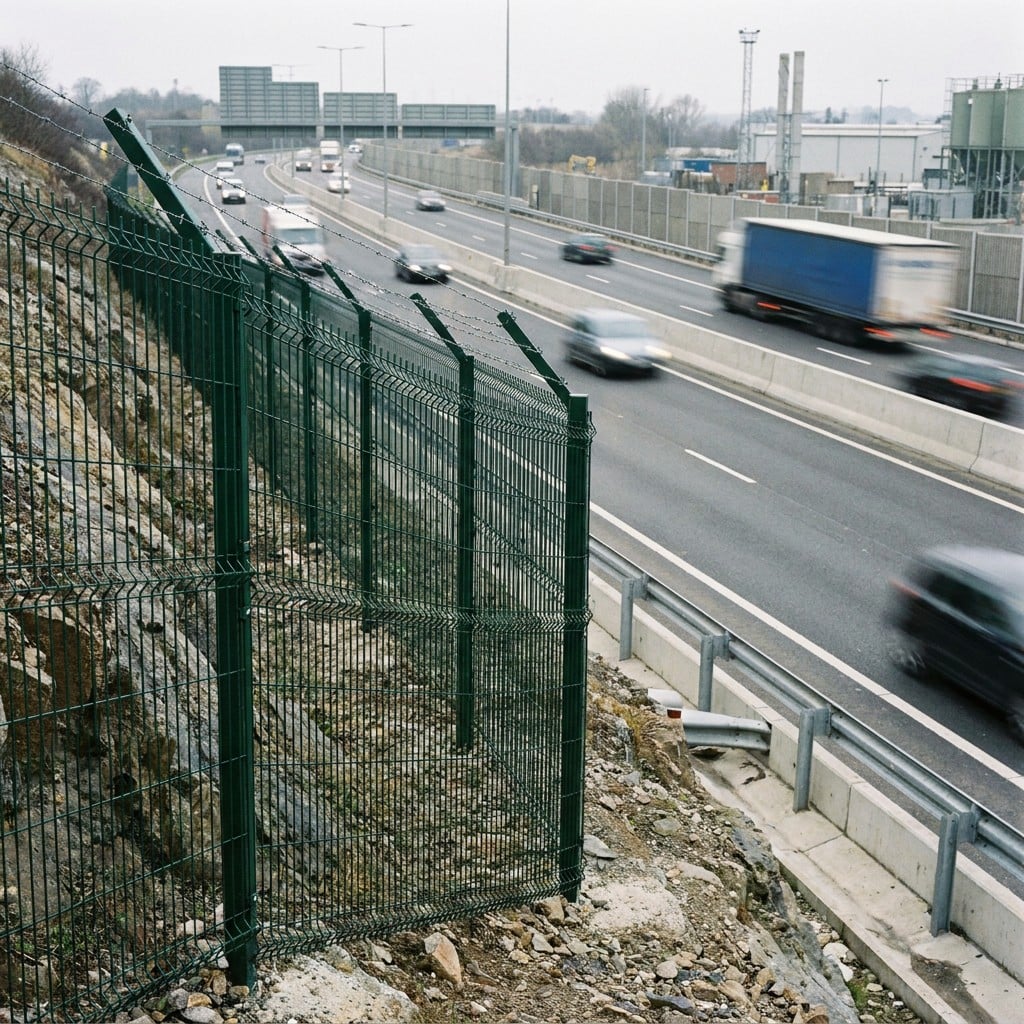
Before You Start: Site Survey and Materials
Site survey. Walk the full perimeter and mark every post position before digging a single hole. Pay attention to: ground conditions (rocky soil, high water table, or utilities running underground require different approaches), slope changes (steps in the fence line are needed on steep ground), gate locations (gates need heavier end posts), and access for equipment.
Materials checklist. For a standard panel system you need: 3D fence panels, line posts, end and corner posts, post caps, bolt kits with locking nuts, concrete mix, and optional angled top sections or barbed wire. Confirm with your supplier that all hardware matches the panel system — never mix clamps and bolts from different manufacturers, because mismatched hardware is a common cause of failed load tests.
Step 1: Mark and Space the Posts
Post spacing must follow the manufacturer's specification exactly — for most 3D fence systems, that is 2.5 meters or 3.0 meters on center. Do not stretch spacing to save on posts. Every extra half-meter of spacing increases panel deflection under load and can push the fence out of compliance with local building or security standards.
On corners and ends, use heavier-duty posts (often a larger tube section) because they carry unbalanced tension from two directions. At gates, use the heaviest end posts available — a gate post carries the entire gate's weight plus the tension of adjacent panels.
Step 2: Dig and Set the Posts
Hole depth. As a rule of thumb, embed at least one-third of the post height below ground. A 2.0-meter post needs a hole roughly 700 mm deep. In frost-prone regions, go below the frost line to prevent heaving.
Hole diameter. Allow 200 to 300 mm of clearance around the post for concrete — typically a 300 mm diameter hole for a standard post.
Concrete. Use a mix of approximately 1 part cement, 2 parts sand, and 4 parts aggregate. Pour to just below grade, and slope the surface slightly away from the post so water drains instead of pooling against the steel. Protect the post above the concrete line with a post cap to keep water out of the hollow section — trapped water is the number one cause of internal corrosion.
Alignment. This is the step that separates professional installers from the rest. A string line and level are non-negotiable: every post must be plumb (vertically level) in two directions, and post faces must align so the fence line runs straight. Check each post with a spirit level while the concrete is still wet, and brace it until the concrete cures — usually 24 to 48 hours.
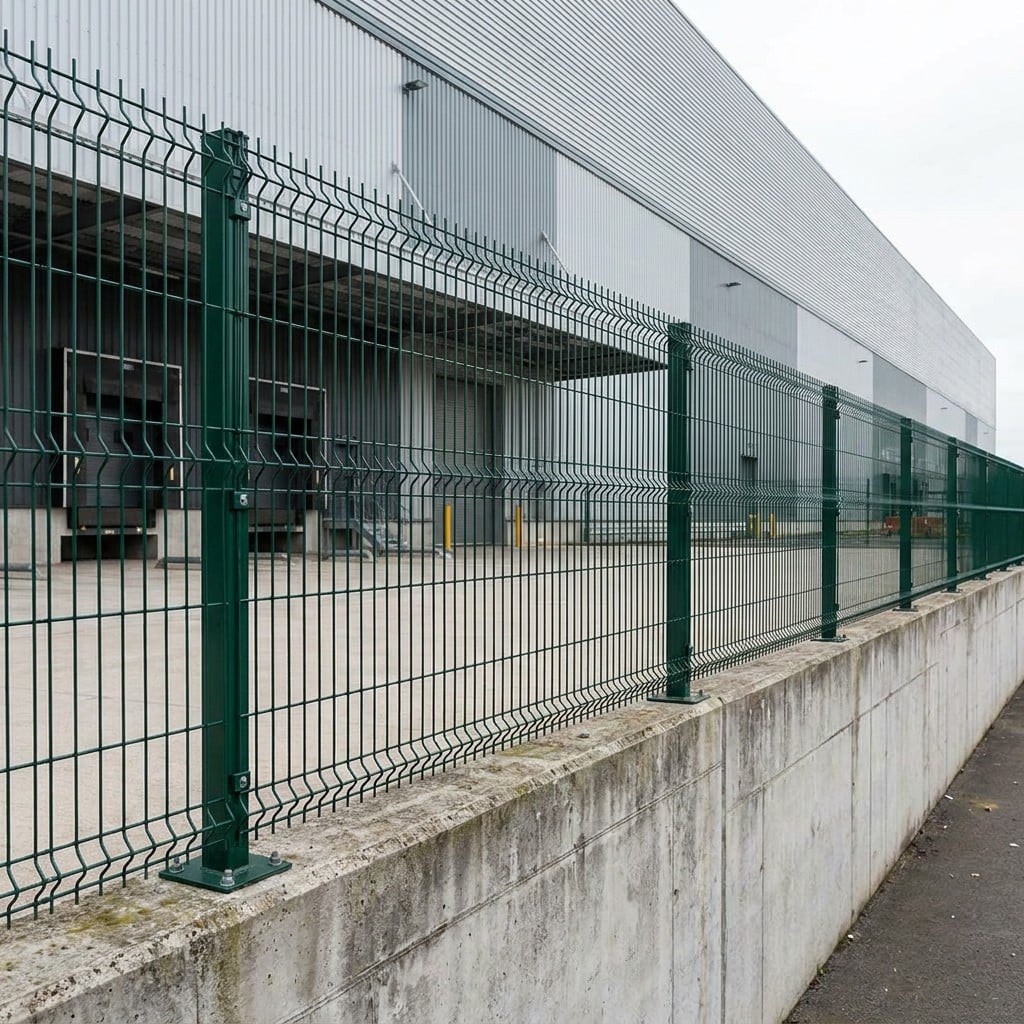
Step 3: Mount the Panels
Once the concrete has cured, panel installation is fast:
Lift the first panel into position between two posts, with the V-bend facing outward (the side you want intruders to see — and struggle with).
Bolt the panel to the post using the manufacturer's brackets and locking nuts. Use two bolts per side minimum, tightened to the specified torque — do not rely on a single loose fastener.
Connect panels to each other using the system's joining clips or bolts, keeping the tops aligned so the fence line reads as one continuous surface.
Attach the post caps to seal every post top.
Repeat across the full run, checking alignment every few panels rather than fixing problems at the end.
Common error: installing the V-bend facing the wrong way. The V should face outward — toward potential intruders — so the angled surface works against climbing and the flat face presents a cleaner appearance to the protected side.
Step 4: Add Top Security Options
For industrial and high-security sites, add an angled top section before final tightening:
Bent-top / Y-top sections carry barbed wire at an angle, creating an overhang that is very difficult to climb over.
Spearhead-top sections feature pointed profiles that deter climbing at the very top of the fence.
Razor wire coils can be clamped to the top rail as an additional layer.
All three options must be specified with the panel system from the start — retrofitting a top section to an incompatible panel is unsafe and rarely compliant.
Step 5: Final Inspection
Before handing the fence over, run this checklist:
Every post plumb and aligned? Re-check with the string line.
All bolts present, tightened, and locking nuts engaged?
All post caps fitted and sealed?
Panel-to-panel joints secure with no loose sections?
Ground clearance consistent along the run?
Gates open and close freely with proper latch engagement?
A 30-minute inspection at the end of the job prevents a year of callbacks.
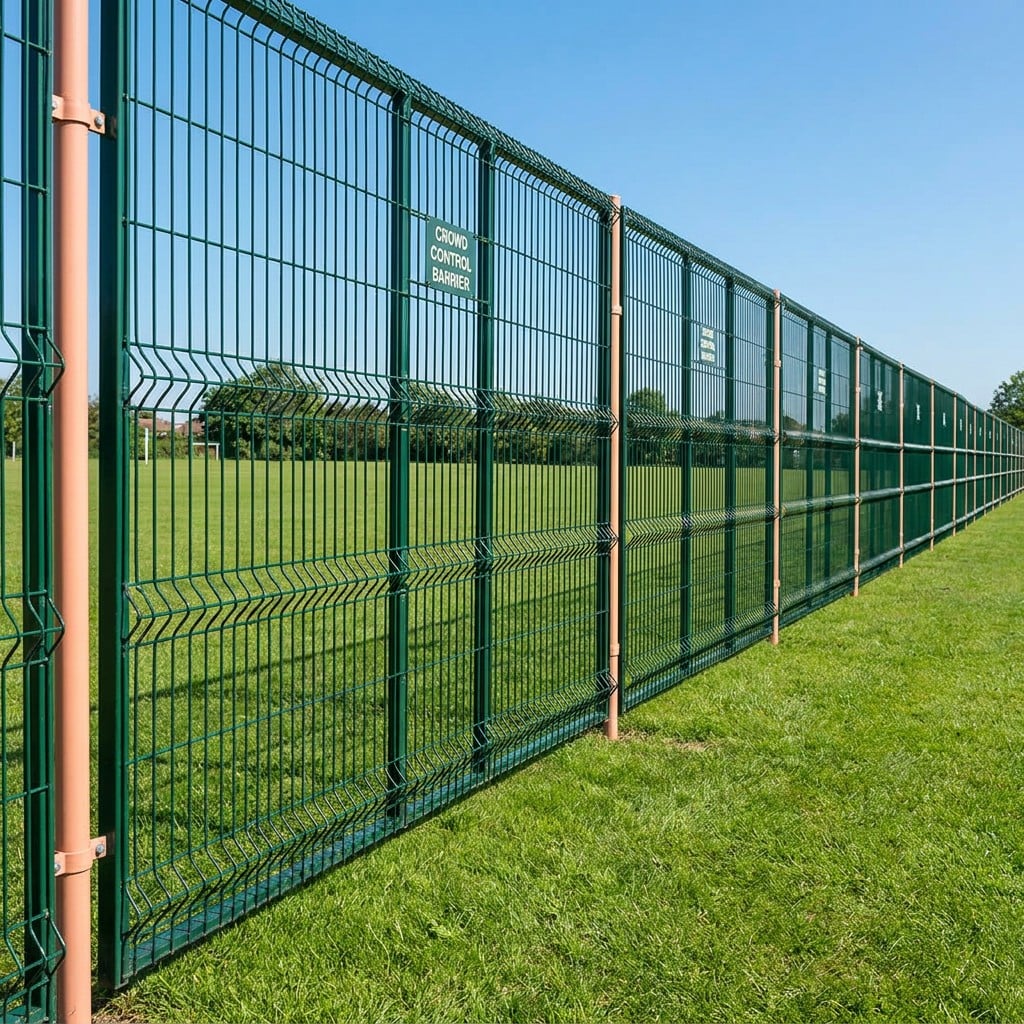
Installation Mistakes We See Most Often
Shallow concrete. The single most common cause of fence failure. Posts set in 200 mm of concrete look fine for a month, then shift with the first frost or vehicle impact. Embed depth is not negotiable.
Stretched post spacing. Saves a few posts but doubles panel deflection under load and fails inspections. Always follow the spacing table.
Mismatched hardware. Bolts, clips, and brackets from different suppliers do not share load evenly. One system, one hardware set.
Panels mounted before concrete cures. Concrete shrinks and settles as it cures; panels bolted too early go out of alignment. Wait 24 to 48 hours.
No post caps. Water enters the hollow post, freezes, expands, and splits the tube from the inside. Post caps cost pennies; post replacement costs hundreds.
How Long Does Installation Take?
A trained two-person crew installs 50 to 80 linear meters of 3D fence per day, including digging, concreting, and panel mounting. Site conditions change this: rocky ground, long distances between water sources, or slope work can halve the daily rate. Plan your crew schedule and crane access accordingly — and remember that the concrete curing wait applies to every phase, so sequence your work in sections rather than all at once.
Questions Buyers Ask Us About Installation
Q: Can I install a 3D fence myself, or do I need professionals?
Small residential projects are manageable for a capable DIY crew with the right tools — auger or post-hole digger, spirit level, string line, and concrete. For industrial-scale projects or any site with a security requirement, professional installation is strongly recommended.
Q: Do the panels come pre-assembled?
Yes. Panels arrive fully welded and finished, ready to bolt to posts. No on-site welding is required for standard installations.
Q: What tools do I need?
Post-hole digger or auger, spirit level, string line, measuring tape, sockets or spanners for the bolt kits, and concrete mixing equipment. If panels are shipped in knockdown form, add a small assembly frame — your supplier will confirm which form your order uses.
Q: Does Guoxing provide installation guidance?
Yes. Every order includes installation manuals with post spacing tables, torque specifications, and step-by-step diagrams. For large projects, we provide detailed layout drawings and remote engineering support throughout installation.
Build It Right the First Time
A 3D fence installed correctly is a 20-to-30-year asset. Installed carelessly, the same panels become a recurring cost and a security weakness. Follow the steps above — embed posts properly, space them per spec, use matching hardware, and inspect before you hand over — and your fence will perform exactly as engineered.
Anping Guoxing supplies complete 3D fence systems: panels, posts, caps, and hardware, all manufactured in one factory for perfect compatibility. Contact us for a quotation or installation documentation — our engineers answer all inquiries within 24 hours.